
If you're using Microsoft Windows (any version), you'll first need to download and install the GnuPG system — the encryption and key management suite. The recommended package for this is Gpg4win. Choose the Light version if your goal is to use PGP encryption solely for messaging.
If you're on Linux, there's no need to install anything — GPG is already included in most distributions by default.
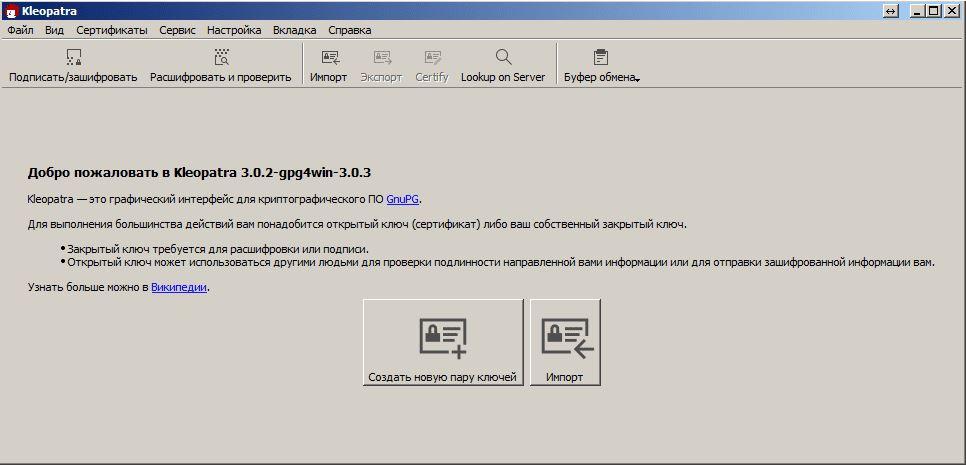
For Psi+ to work correctly with GPG, you must install Gpg4win to the exact path:C:\Program Files\GNU\GnuPG
(assuming C: is your system drive). Any other location may result in Psi+ failing to detect GPG properly.
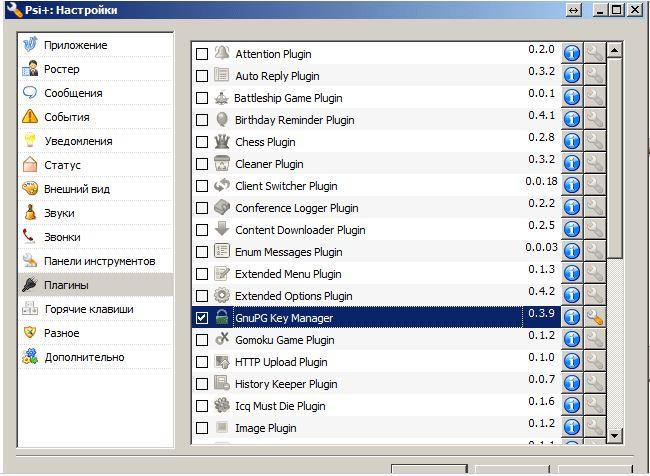
Psi+ includes a built-in key manager — you just need to activate it.
Head over to Settings → Plugins, scroll through the list and enable the GnuPG Key Manager by checking the box.
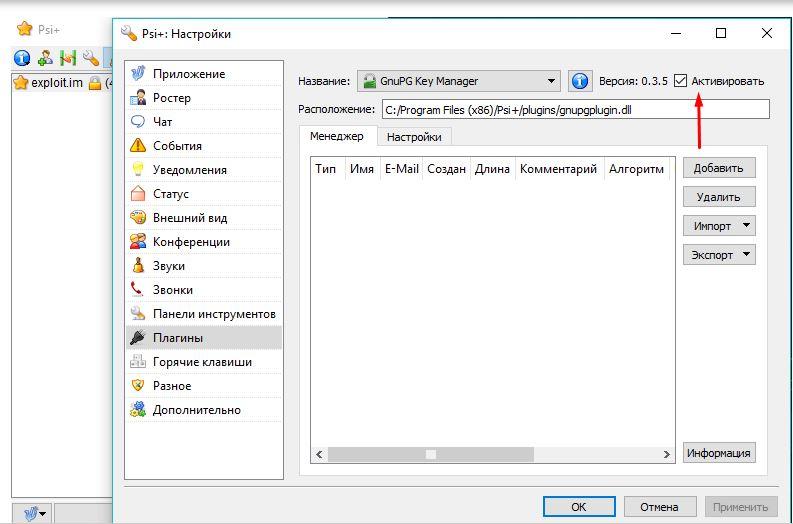
Here you can either generate a new PGP key or select one from an existing list.
In this guide, we'll walk through creating a new key.
Click the Add button.

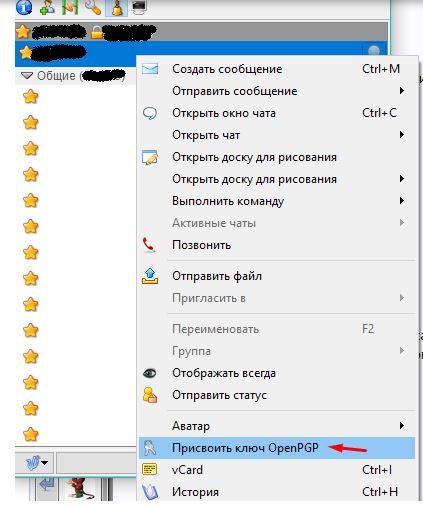
Once your key has been generated, you'll need to assign it to your account. Right-click your account name and select Assign OpenPGP Key. Psi+ will prompt you for the key’s passphrase and ask for it each time you restart the application.
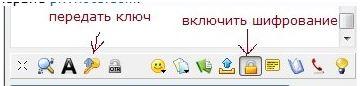
Now you’re ready to:
- Exchange keys with your contacts
- Enable encryption for your chats
With these steps complete, your Psi+ is now equipped with end-to-end encryption via OpenPGP — ensuring that your private conversations remain private.